
AI 生成艺术QR码教程

最近看到一些使用AI 生成艺术QR二维码,非常艺术,其实是使用 Stable Diffusion 创建的艺术二维码,这些二维码是使用定制训练的 ControlNet模型生成的,于是找到一些免费的创意 AI 生成艺术QR码教程,无需代码无需付费等等,步骤有点多,跟着步骤来就好了,需要一点耐心,感兴趣的同学可以到官方的教程跟着来。

Workflow 1: Best for full pose characters (Img2Img)
工作流程 1:最适合完整姿势字符 (Img2Img)
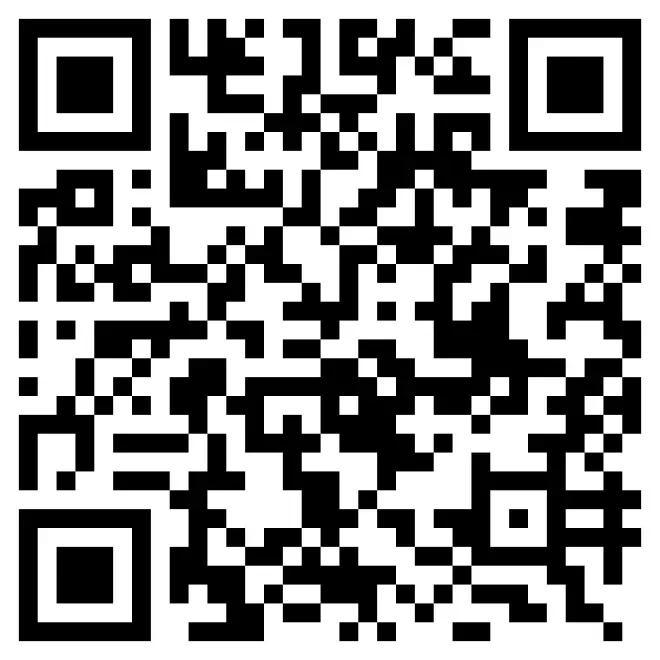
首先,我们需要创建一个二维码。您可以在此处免费创建一个 https://keremerkan.net/qr-code-and-2d-code-generator/

输入您的网址,这有助于使用网址缩短。将纠错级别设置为高,因为我们要将图像与我们自己的图像混合。
然后,我们可以生成一个二维码并将其保存到您的本地 PC。
Step 2: Create Art for Combining with the QR Code
第 2 步:创建与二维码结合的艺术
我们现在可以找到我们喜欢的图像,也可以从稳定扩散中的txt2Img选项卡中生成一些图像。我将在txt2Img选项卡中生成一个。
如果您没有在本地安装稳定扩散,您可以前往ThinkDiffusion进行操作。只需选择 A1111 并启动机器即可开始使用。
下面的截图来自Automatic1111或简称A1111,它是稳定扩散的实际UI)
OK,让我们开始吧!

(1) The model is revAnimated_v122 -- 模型revAnimated_v122
(2) Sampling method is DPM++ 2S a Karras --抽样方法是DPM++ 2S a Karras。
(3) Sampling steps is 20 --采样步骤为20
(4) Resolution 768 x 768 -- 分辨率 768 x 768
(5) CFG scale 11 -- CFG 量表 11

对于正面提示,因为我们使用的是ControlNet_OpenPose_Full,所以最好在正面提示中包含“全身”,因为我们在模仿图像的姿势。您甚至可以将分辨率更改为宽度 512 和高度 768,使其成为肖像,从而减少对我们的二维码的干扰。
Positive Prompts: 正面提示:
futobot, cyborg, ((masterpiece),(best quality),(ultra-detailed), (full body:1.2), 1 female, solo, hood up, upper body, mask, 1 girl, female focus, black gloves, cloak, long sleeves
Futobot, 机器人, ((杰作),(最佳质量),(超详细), (全身:1.2), 1 女性, 独奏, 兜帽向上, 上半身, 面具, 1 女孩, 女性焦点, 黑色手套, 斗篷, 长袖
Negative Prompts: 负面提示:
paintings, sketches, (worst quality:2), (low quality:2), (normal quality:2), lowres, normal quality, ((monochrome)), ((grayscale)), skin spots, acnes, skin blemishes, age spot, glans, nsfw, nipples, (((necklace))), (worst quality, low quality:1.2), watermark, username, signature, text, multiple breasts, lowres, bad anatomy, bad hands, text, error, missing fingers, extra digit, fewer digits, cropped, worst quality, low quality, normal quality, jpeg artifacts, signature, watermark, username, blurry, bad feet, single color, ((((ugly)))), (((duplicate))), ((morbid)), ((mutilated)), (((tranny))), (((trans))), (((trannsexual))), (hermaphrodite), extra fingers, mutated hands, ((poorly drawn hands)), ((poorly drawn face)), (((mutation))), (((deformed))), ((ugly)), blurry, ((bad anatomy)), (((bad proportions))), ((extra limbs)), (((disfigured))), (bad anatomy), gross proportions, (malformed limbs), ((missing arms)), (missing legs), (((extra arms))), (((extra legs))), mutated hands,(fused fingers), (too many fingers), (((long neck))), (bad body perspect:1.1)
绘画, 素描, (最差质量:2), (低质量:2), (正常质量:2), 低分辨率, 正常质量, ((单色)), ((灰度)), 皮肤斑点, 痤疮, 皮肤瑕疵, 老年斑,, NSFW,, (((项链))), (最差质量, 低质量:1.2), 水印, 用户名, 签名, 文本, 多乳房, 低分辨率, 解剖结构不良, 坏手, 文本, 错误, 缺少手指, 额外的数字, 更少的数字, 裁剪, 最差的质量, 低质量, 正常质量, JPEG 伪影, 签名, 水印, 用户名, 模糊, 坏脚, 单色, ((((丑陋)))), (((重复))), ((病态)), ((残缺)), ((变性人))), (跨性人))), ((变性人))), (雌雄同体), 多余手指, 突变手, ((手画得不好)), ((画得不好的脸)), ((突变))), ((变形))), ((丑陋)), 模糊, ((解剖结构不好)), (坏比例))), ((额外的肢体)), (毁容))), (解剖结构不良), 粗大比例, (畸形的肢体), ((缺少手臂)), (缺失腿),(((额外的手臂))),(((额外的腿))),变异的手,(融合的手指),(手指太多),(((长脖子))),(不良身体观察:1.1)

Step 3: Combine the Image with the QR Code
第 3 步:将图像与二维码相结合

然后,我们可以将其发送到img2img选项卡,或者如果您已经有要使用的图像,则可以将您的图像上传到img2img选项卡。我们可以输入相同的正面和负面提示。
重要提示:您必须在img2img选项卡中输入提示才能正常工作

(1) We can then select the sampling method as DPM++ 2S a Karras ----然后我们可以选择采样方法作为DPM++ 2S a Karras,
(2) Sampling steps 60 ----抽样步骤 60
(3) A resolution of 768 x 768 ----分辨率为 768 x 768
(4) A CFG Scale of 11 ----CFG等级为11
(5) And a Denoising strength as 1.0 ----降噪强度为 1.0

然后我们需要进入控制网,让它发挥它的魔力!对于 ControlNet Unit 0,我们需要再次上传在 txt2img 选项卡中生成的图像或您自己的图像(如果您已经有一个)。

(1) Make sure to tick the checkbox to Enable ControlNet within ControlNet Unit 0
确保勾选复选框以在控制网络单元 0 中启用控制网络(2) Select OpenPose as the Control Type, openpose_full as the pre-processor and control_sd15_openpose as the ControlNet model
选择 OpenPose 作为控制类型,openpose_full作为预处理器,control_sd15_openpose作为控制网络模型(3) We can leave the Control Weight at 1 as we are going to inform controlnet that our QR code should be weighted heavier
我们可以将控制权重保留为 1,因为我们将通知控制网我们的二维码应该加权更重(4) We can leave the the Starting Control Step at 0 and the Ending Control Step at 1 as we want our image to be generated from the initial start.
我们可以将开始控制步骤保留为 0,将结束控制步骤保留为 1,因为我们希望从初始开始生成图像。(5) Select Balanced as the Control Mode
选择平衡作为控制模式(6) And Resize and Fill for the Resize Mode.
并调整大小并填充以调整大小模式。

我们现在需要进入 controlNet 单元 1 选项卡(如果您没有看到这个,那么您需要进入 controlNet >设置并更改滑块以显示超过 1 个 controlNet 选项卡

然后我们可以将我们的二维码上传到 controlNet Unit1 选项卡

(1) Ensure we click enable to make sure ControlNet is activated
确保我们单击启用以确保控制网络已激活(2) Select tile as the Control Type,
选择瓷砖作为控件类型,(3) tile_resample as the pre-processor
tile_resample作为预处理器(4) control_v11f1e_sd15_tile as the controlNet model (You may have a different version of the controlNet tile model)
control_v11f1e_sd15_tile作为控件网络模型(您可能具有不同版本的控件网络磁贴模型)(5) Set the control weight to 1.2 to inform control net that our QR code is slightly more important than our image!
将控制权重设置为1.2,以告知控制网我们的二维码比我们的图像稍微重要一些!(6) Set the starting control step to 0.23 and the ending control step to 1. This ensures that our image will start rendering before the QR code is rendered. It's more aesthetically pleasing on the eye this way!
(6) 将开始控制步骤设置为0.23,结束控制步骤设置为1。这可确保我们的图像将在渲染 QR 码之前开始渲染。这样更美观!(7) Set the control mode to balanced
将控制模式设置为平衡(8) and the resize mode to Resize and fill
并将调整大小模式设置为调整大小和填充

Step 4: High five! 第四步:击掌!
恭喜,我们现在可以单击生成,我们应该将我们的二维码与我们的图像混合在一起!

更多玩法,可以参考官方教程给出的玩法去学习!!!!
地址:https://learn.thinkdiffusion.com/creating-qr-codes-with-controlnet/
