
Stable Diffusion 光影控制小技巧
偶然看到油管大神Sebastian Kamph关于stable diffusion光影控制的小技巧,自测了下,发现效果还不错~
给小伙伴们来一波儿实测分享o(* ̄︶ ̄*)o
首先用 text-image随便跑一张图:
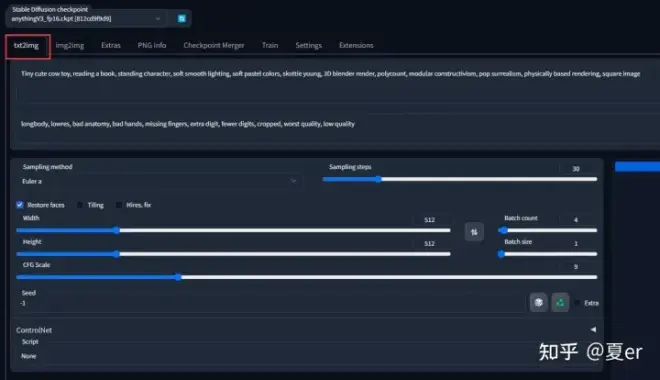
我这张的基本信息如下,需要copy的小伙伴们随意:
Tiny cute cow toy, reading a book, standing character, soft smooth lighting, soft pastel colors, skottie young, 3D blender render, polycount, modular constructivism, pop surrealism, physically based rendering, square image, 1girl, cute face, pink hair, anime style
Negative prompt: out of frame, lowres, text, error, cropped, worst quality, low quality, jpeg artifacts, ugly, duplicate, morbid, mutilated, out of frame, extra fingers, mutated hands, poorly drawn hands, poorly drawn face, mutation, deformed, blurry, dehydrated, bad anatomy, bad proportions, extra limbs, cloned face, disfigured, gross proportions, malformed limbs, missing arms, missing legs, extra arms, extra legs, fused fingers, too many fingers, long neck, username, watermark, signature,
Steps: 20, Sampler: Euler a, CFG scale: 7, Seed: 866942899, Face restoration: CodeFormer, Size: 512x512, Model hash: 812cd9f9d9, Model: anythingV3_fp16
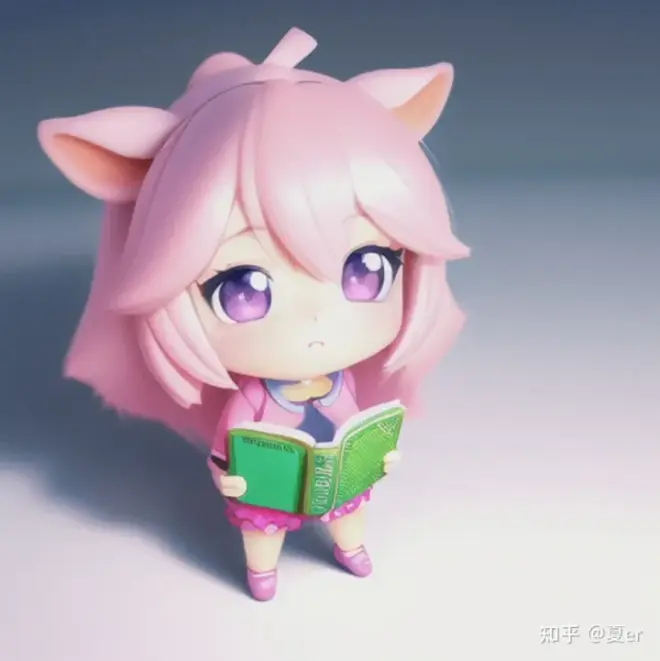
出来的图是这样的:
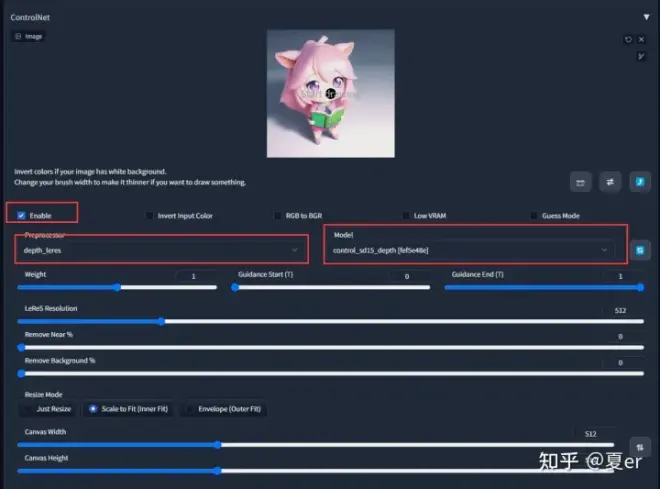
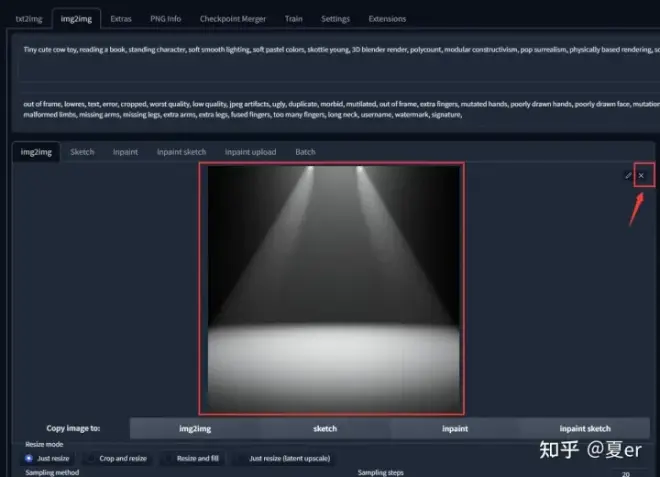
然后点击send to img2img按钮,点开ControlNet,将刚刚那张图同样放进ControlNet里面来,注意红框内的选项,这个选择相对效果较好,大家也可以尝试其他选项~
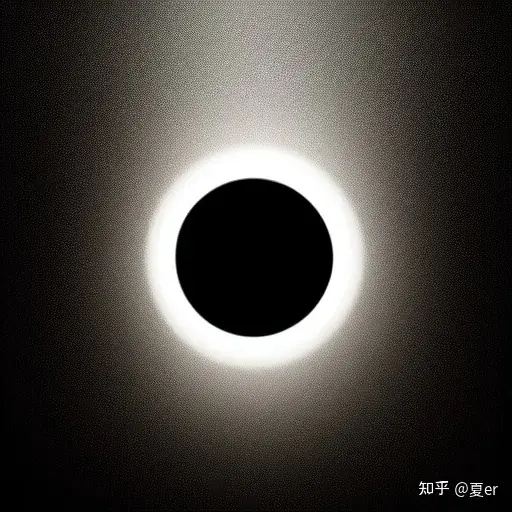
上面图生图的地方,将之前那张图删掉, 然后上传一张光源图:
点击生成:

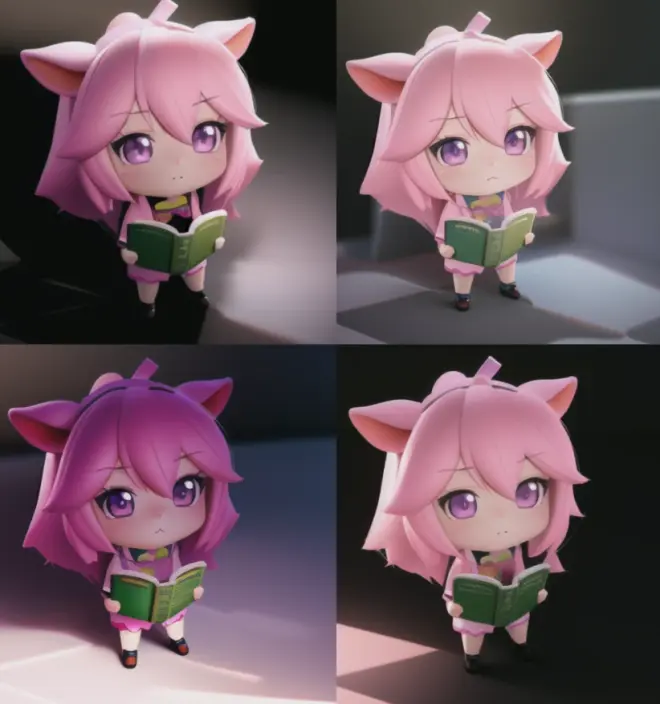
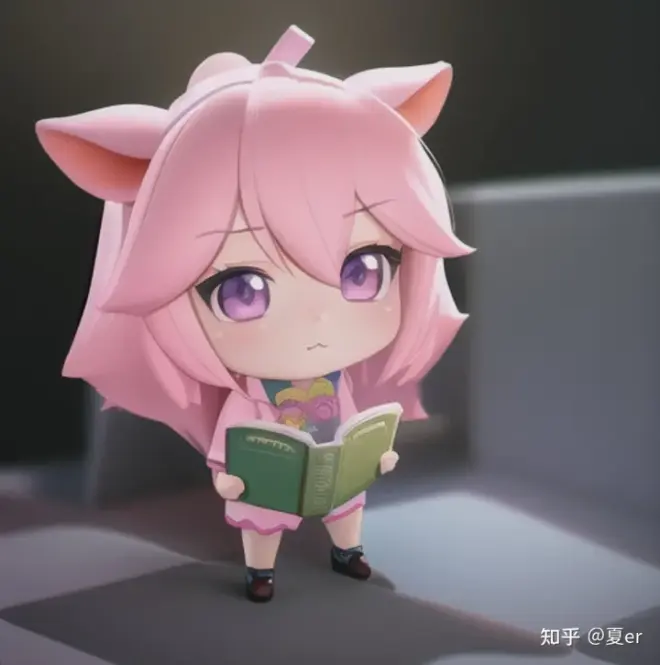
可以看到,生成的图在保留大部分原图的基础上,根据提供的光源图,修改了光影效果,虽然不能做到100%,但是相较于很多时候通过prompt文字修改来控制光源要方便直观很多O(∩_∩)O哈哈~
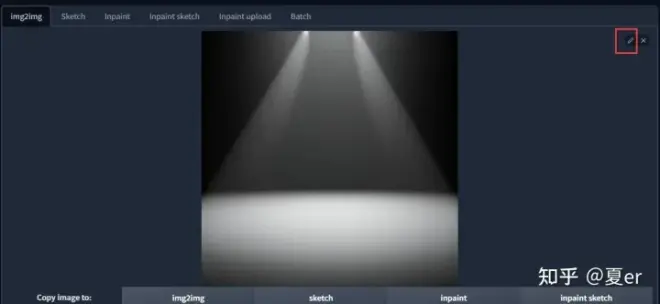
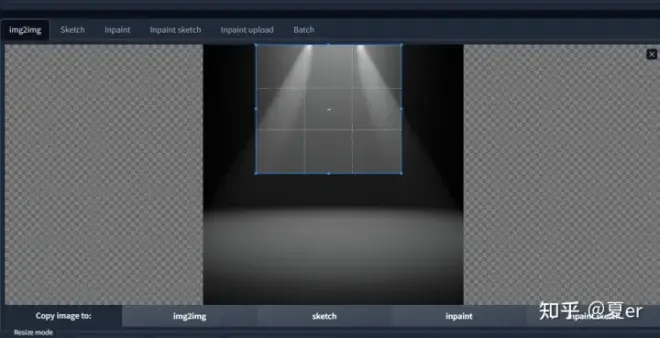
还可以通过边上这个小铅笔按钮,来调整光源的位置:
比如这样:
然后出来的效果是这样的,会有一些细微的区别:
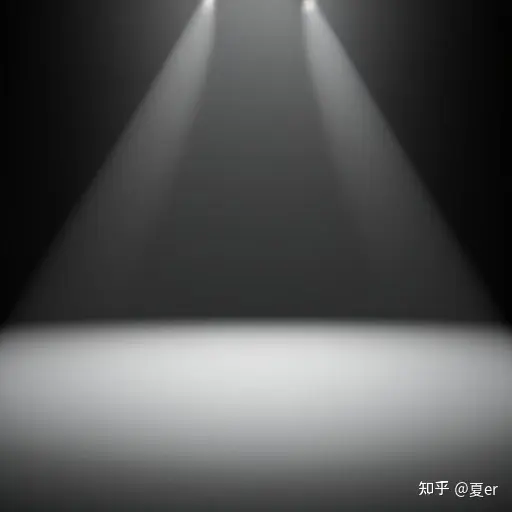
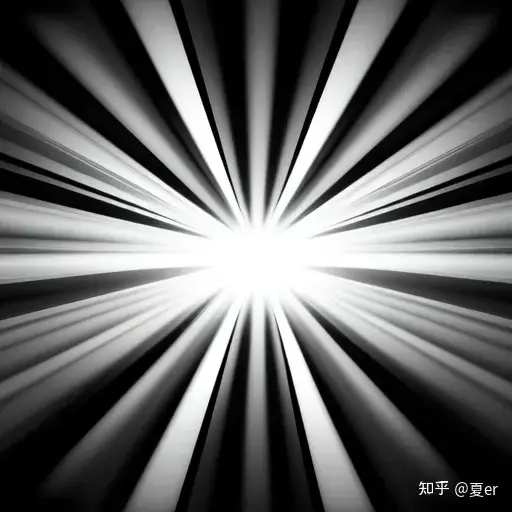
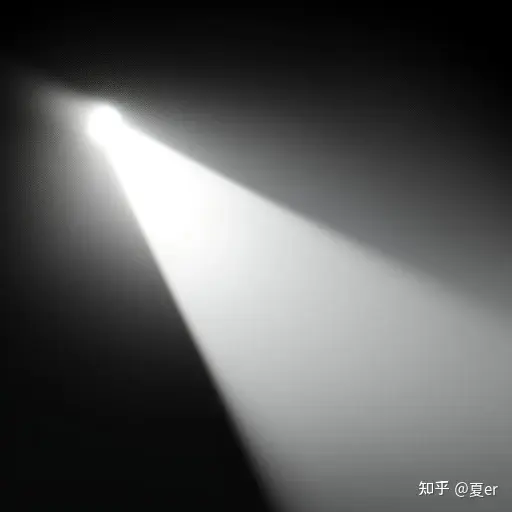
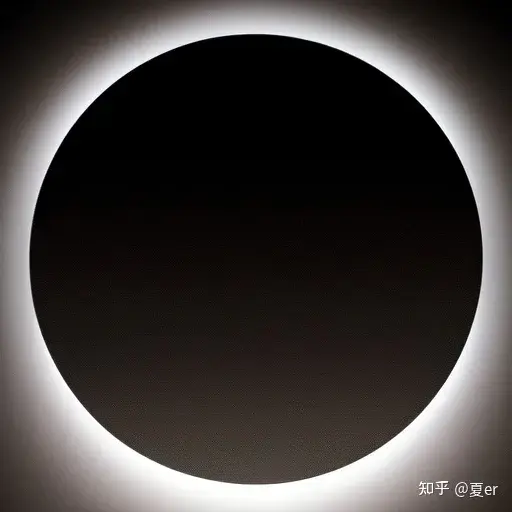
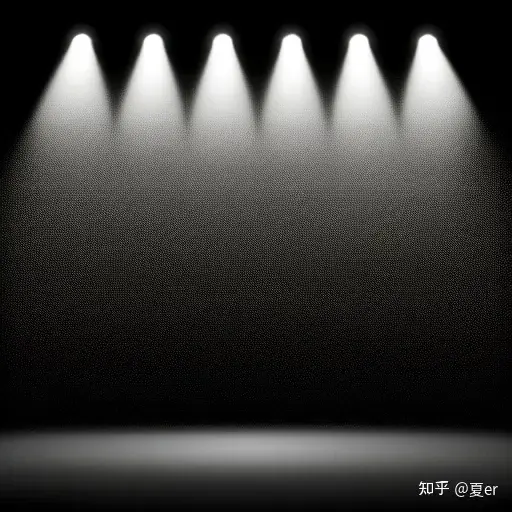
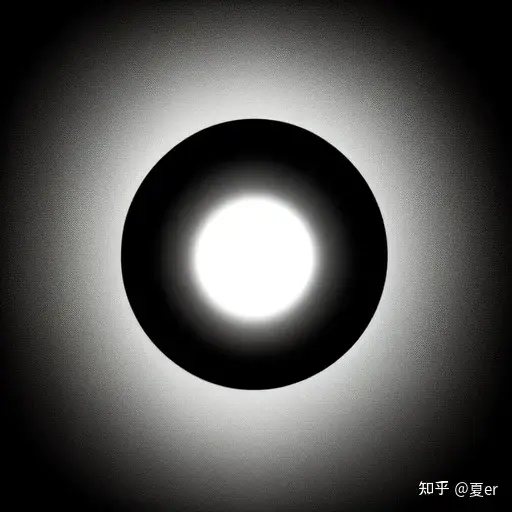
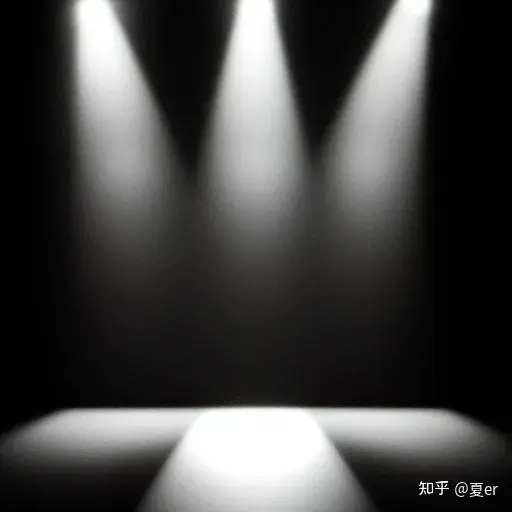
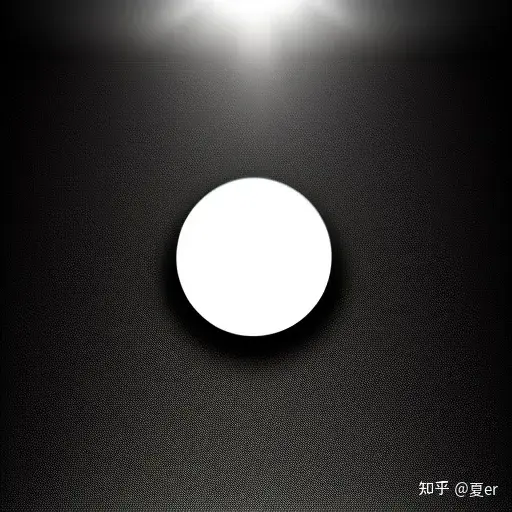
当然,为了达到不同的光影效果,光源图也可以采用比较多样的,这里有几个现成的,需要的小伙伴们可以自取哈:
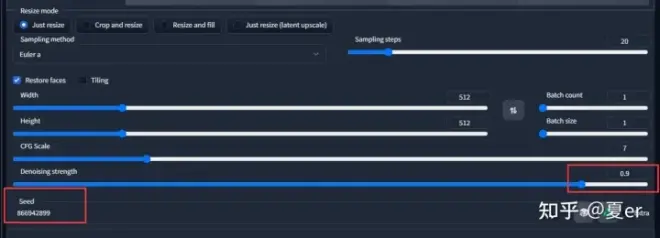
另外还有一个小Tips需要注意一下,#1 确保Seed是同一个,然后Denoising这里0.9会比较合适,当然,大家也可以尝试其他数值。
当然,调整controlnet里面的参数,models也可以有不同的效果,这个就留给小伙伴们自己尝试啦~有惊喜的话也可以在评论区和大家分享哇^_^
